

The apron part was really easy, figuring out the wing rig was a little more tricky.
Check out Eleventh Photograph's Otakon gallery for more pictures of Kero and Suppi (and other awesome cosplayers!)
For more Kero and Suppi, see our Wigs & Ears and Shirts & Shorts!

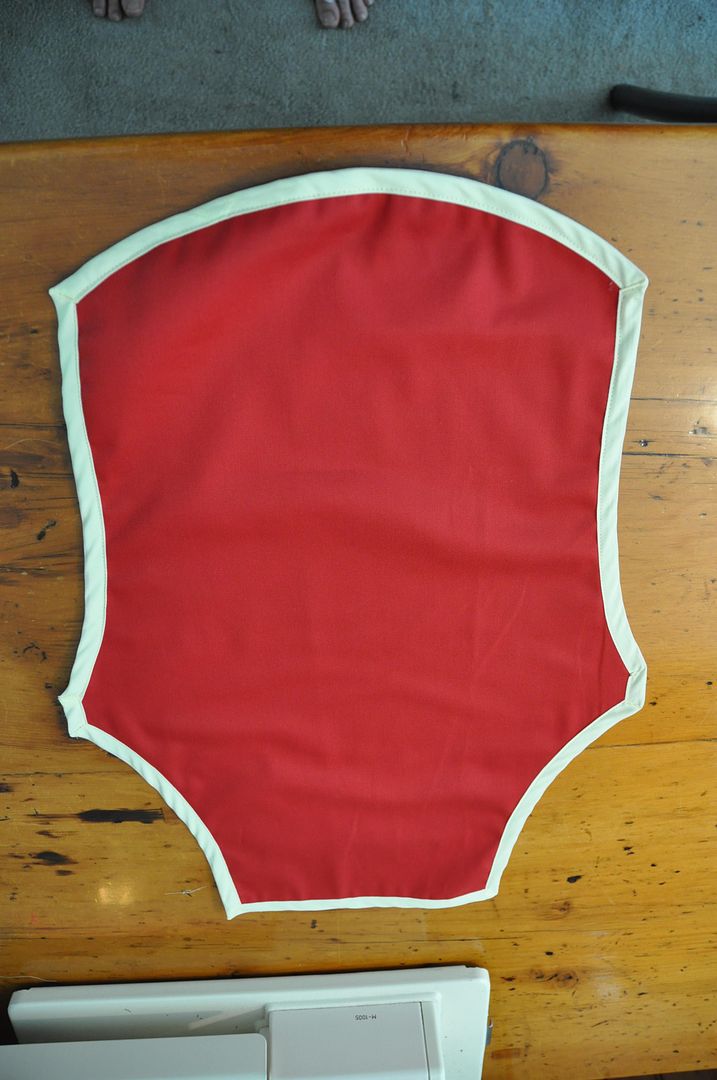 I started by making a paper tracer for each apron. I held it up to myself until I was satisfied with the shape, then cut out 2. The 2 layers were just for extra sturdiness.
I applied my contrasting bias tape trim around the edge of each apron.
This red is the leftover fabric from my red panda bag. :) (Which is still for sale, if anyone is interested.)
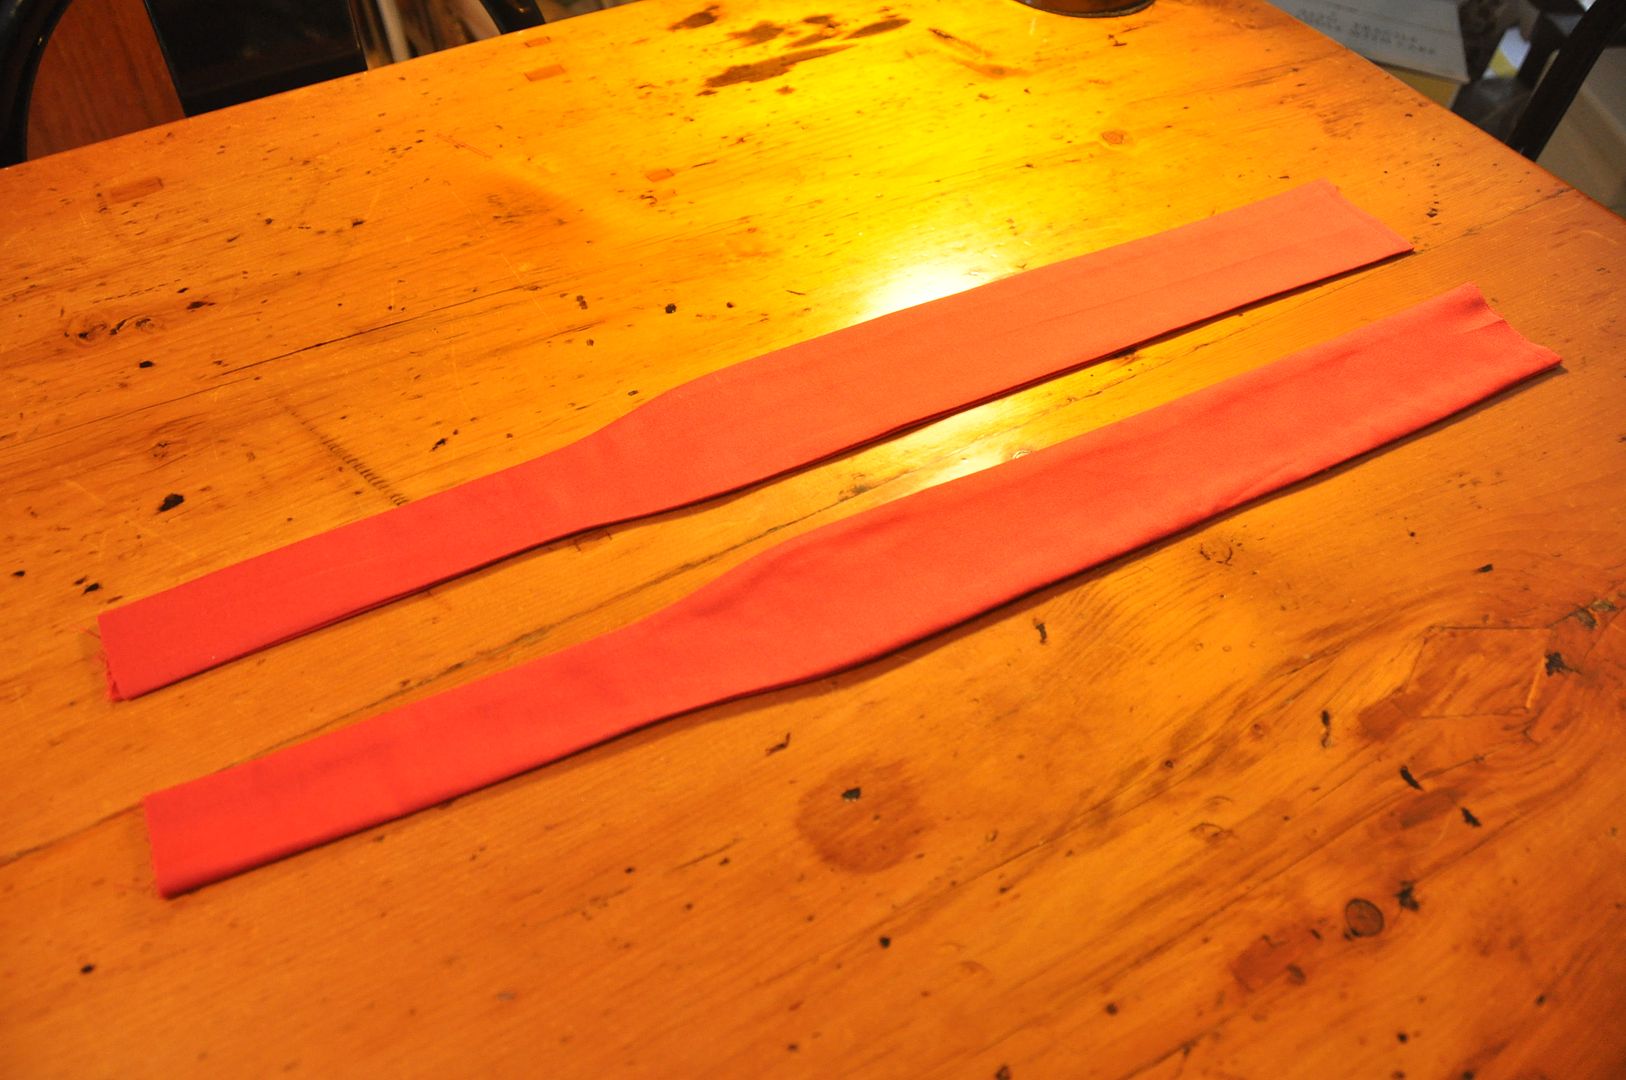
 I then made two strips for the tie at the back. (I should have made mine a little longer.) These were narrower at the base where they attached to the apron and then widened partway. On these I marked 2 stripes going down the center. Along my marking lines I used my sewing machine to embroider a tight wide zig-zag stitch. This was much cleaner than attempting to paint the stripes on.
 I made the 2 shoulder straps, marking where they needed to attach at the back and how long they needed to be. They needed to be fairly tight so the wings wouldn't droop, so I ended up having to tighten them later...
Then I cut out the pieces for the applique design. Suppi's symbol is based on the one from his "big form", Kero's is a simplified version of his sun symbol. (Meaning no wavy lines, as they would be impossible to do at this scale...)

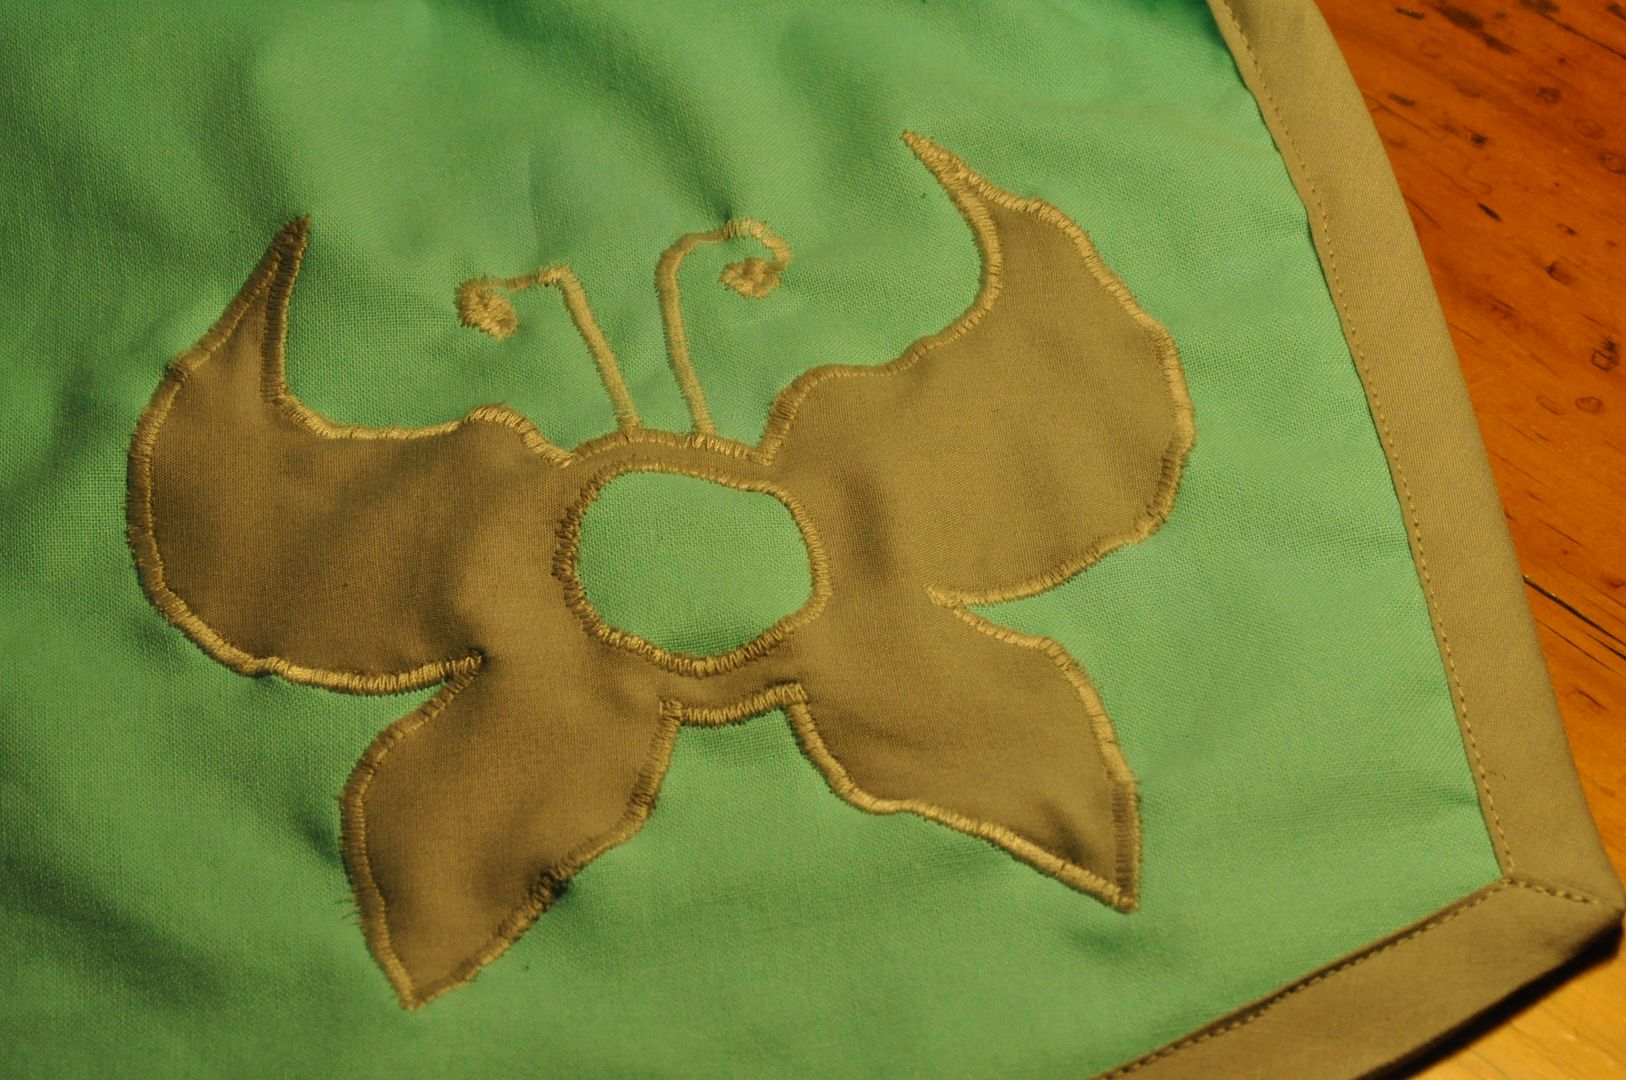 Using a tight zig zag stich, I carefully followed the edges of my cut outs. For Kero's I did the pale star points, the inner lines and then the yellow star outline. For Suppi's I started with the inner circle, then the butterfly and lastly the antennae.
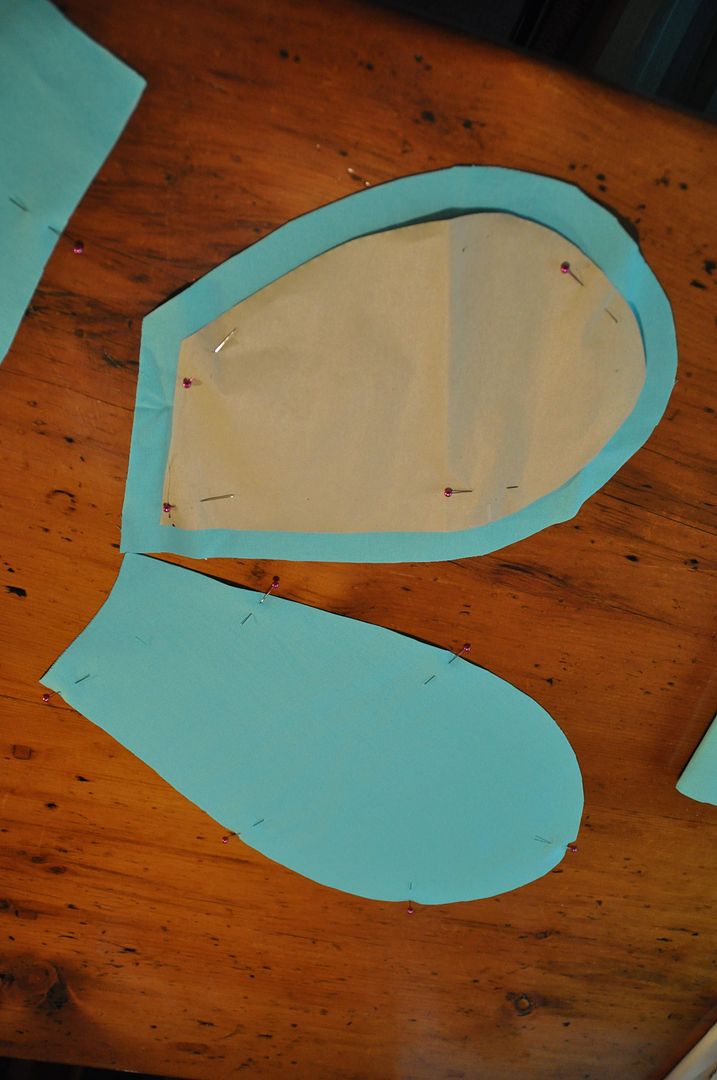
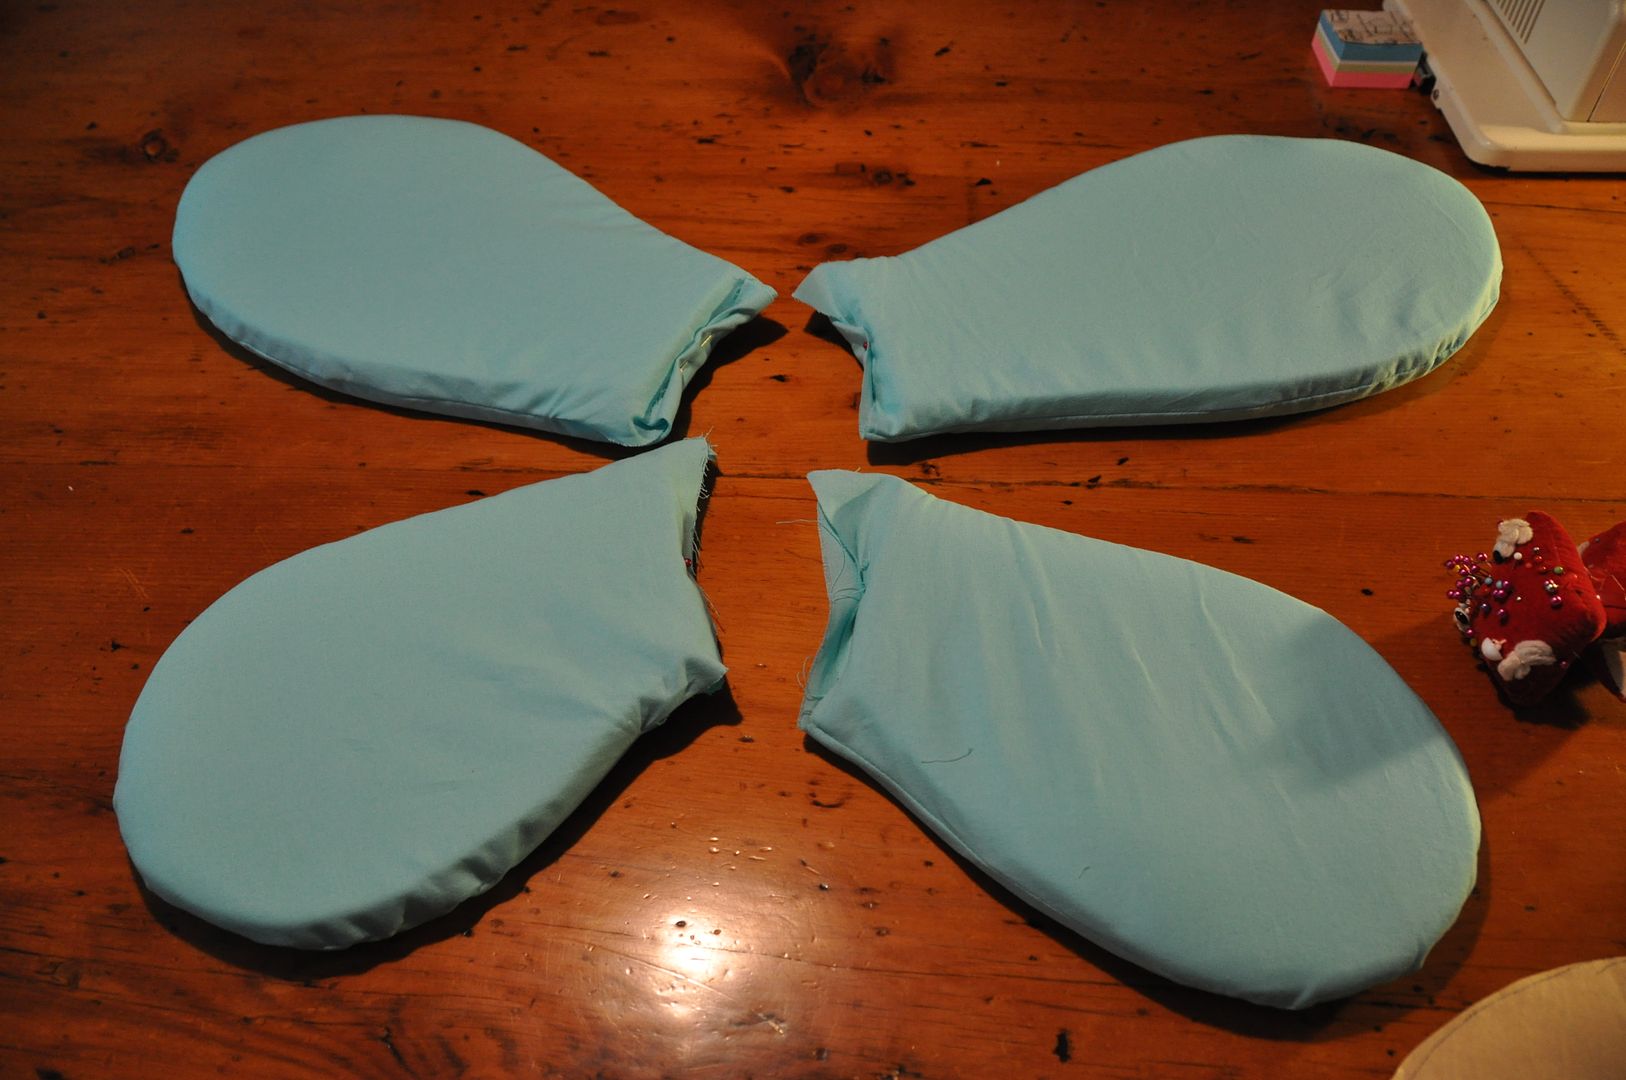 Once the apron bases were done, I started on the wings. Like many parts of this project I started with a paper tracer which I sized up to the actual person before cutting anything out.
I then cut out the foam bits (double thickness for all wings), followed by the cover pieces. For the covers I made them slightly larger (by about 1/4"), as they had to go over an object with thickness.

 I sewed the covers right sides together, leaving myself a large gap at the base through which I could stuff my foam cutouts.
 On Kero's wing cut outs rounded out the edges, so they would fit the case better and look less blocky. Even then it was a struggle to get the wings in.
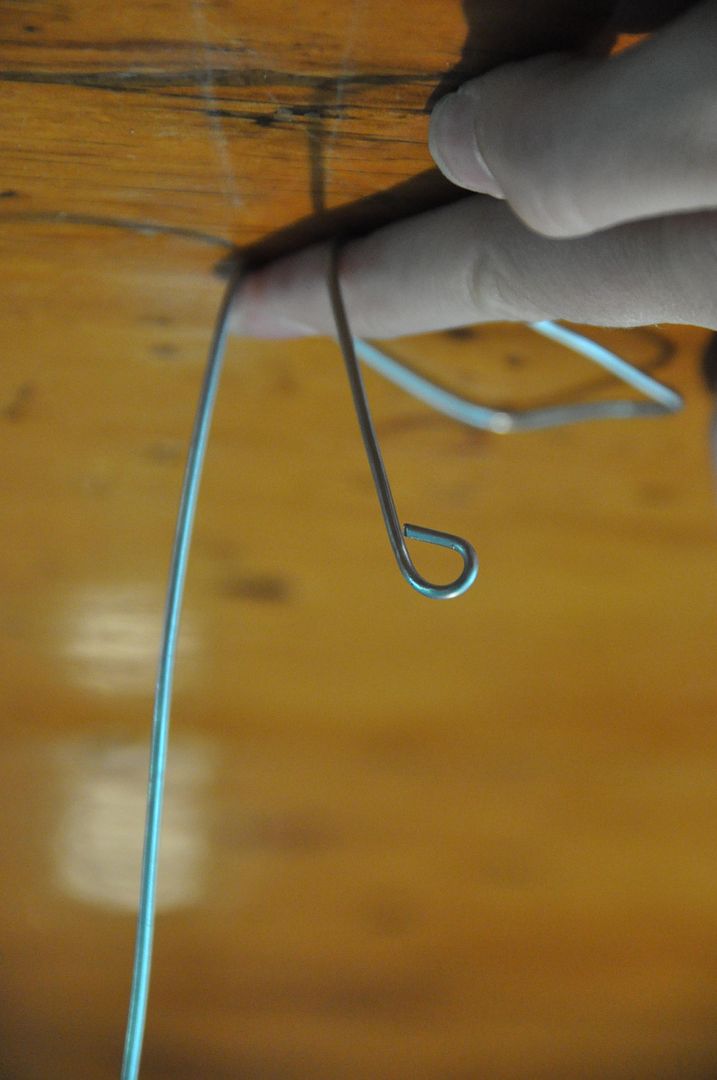

Then I started to work on the rigging. Kero's wings were sort of the trial and error run, before I figured it out and streamlined the process for Suppi's. I started with a piece of wire (1 for each wing) that I bent like in the picture above left. These would slide through the opening in the base, up in between the 2 layers of 1/2" foam where they would be secured later.

I slid the wires inside the wings and placed them on the back panel to see how they would sit together. I marked where I needed to put the holes for the wire to stick out of the back panel. These holes I did in the same style as normal button holes. These were only on one side of the fabric cover.

 Keeping the wires the same distance apart as on the panel, I marked and hot glued the wires down to my base pieces, made of rectangles of styrene.
 Unbending the ends of the wires for the time being (they were bent over so they won't poke holes in the foam wings), I slid them between the 2 layers of fabric and out through the holes in the back panel. When in place I stitched a line along the bottom and top edge of the panel to keep them from sliding around.
At this point I re-bent the ends of the wires. Then I carefully marked and hot glued the wings to the wires.
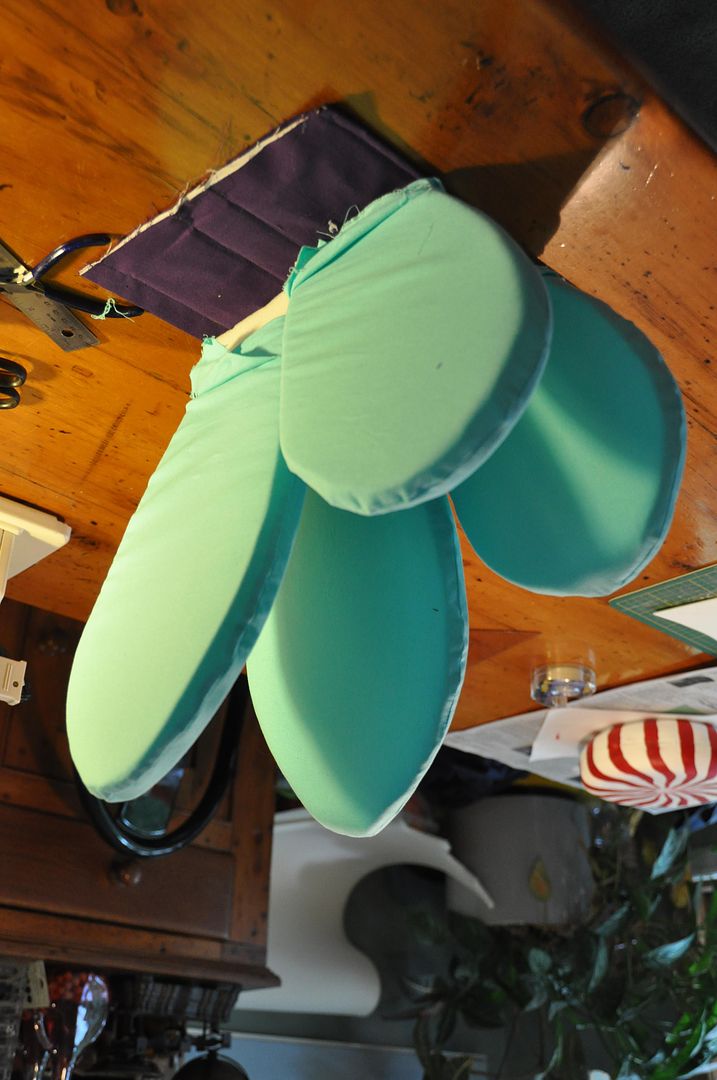

Lastly I made the 2 swirls for Kero's wings. This was simply 2 ovals of foam that I made cases for. When they were together I stitched the swirls directly onto them, through the foam layer, giving them the plush look.

No comments:
Post a Comment